In the previous chapter of our AirBnB clone with React Native series, we set up push notifications in both Android and iOS. In this chapter, we’ll see how to get user permissions to allow push notifications in iOS.
We’ll use a token stored in async storage to achieve this task. This token is used to persistently ask the user to allow notifications after every login until the option is accepted. Once accepted, the token is saved to the Firebase real-time database.
Getting and Storing the Token
Open the file RequestSendNotification.js, which we implemented when we previously set up push notifications.
First, we implement a function that checks whether the user has accepted or rejected the token. If the token has been rejected, we display a native request notification for iOS. If the user has already accepted the token and saved it to the Firebase real-time database, then we can use a token to send a notification to the user using Firebase Cloud function that we’ll implement in the next chapter.
Import the three packages we need for the implementation:
-
react-native-firebase package
-
AsyncStorage for backup on local
-
Platform component for getting an operating system name, eg.Android, iOS
import firebase from "react-native-firebase";
import AsyncStorage from "@react-native-community/async-storage";
import { Platform } from "react-native";
Create a function to check Permission status
First, we check user permissions. If the user has already given permission, we redirect the user to the home screen. Otherwise, this means the user has rejected these permissions.
async checkPermission() {
    firebase
      .messaging()
      .hasPermission()
      .then(enabled => {
        if (enabled) {
          // user has permissions
          console.log("permissions accept");
          this.getToken();
          // forward to Home screen
          return this.props.navigation.navigate("Home");
        } else {
          // user doesn't have permission
          console.log("permissions reject");
          /// stay on screen
        }
      });
  }
We need to run this function every time the user reloads the screen:
componentDidMount() {
    this.checkPermission();
  }
If the user has not agreed to receive notifications, run the following requestPermission function to show a popup notification that asks the user to allow push notifications.
async requestPermission() {
    firebase
      .messaging()
      .requestPermission()
      .then(() => {
        // User has authorised
        console.log("permissions accept in requestPermission");
        this.getToken();
      })
      .catch(error => {
        // User has rejected permissions
        console.log("permission rejected");
      });
  }
If the user accepts the request, retrieve the token by calling the getToken function.
The implementation of the getToken function focuses on checking whether the token is locally available, and if not, gets the token and stores it in the Firebase real-time database. Save the token to local storage as well.
async getToken() {
let fcmToken = await AsyncStorage.getItem("fcmToken");
console.log("before fcmToken: ", fcmToken);
if (!fcmToken) {
fcmToken = await firebase.messaging().getToken();
if (fcmToken) {
try {
await firebase
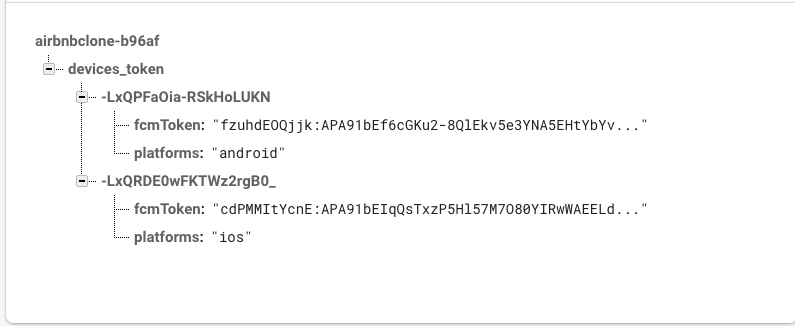
.database()
.ref("devices_token/")
.push({ fcmToken: fcmToken, platforms: Platform.OS })
.then(res => res.json())
.then(res => {
console.log(res);
})
.catch(err => {
console.log(err);
});
await AsyncStorage.setItem("fcmToken");
} catch (error) {
// User has rejected permissions
console.log(error);
}
console.log("after fcmToken: ", fcmToken);
await AsyncStorage.setItem("fcmToken", fcmToken);
}
}
}
We design the popup notification layout using the button design we already used in the previous chapter.
 <TouchableHighlight
            onPress={() => this.requestPermission()}
            style={styles.notifyButton}
            underlayColor={colors.green02}
            onShowUnderlay={this.handleNotifyBtnShowUnderlay}
            onHideUnderlay={this.handleNotifyBtnHideUnderlay}
          >
            <Text style={[{ color: colors.white }, styles.buttonText]}>
              Yes, notify me
            </Text>
          </TouchableHighlight>
          <TouchableHighlight
            style={styles.skipButton}
            onPress={() => this.props.navigation.navigate("Home")}
            onShowUnderlay={this.handleSkipBtnShowUnderlay}
            onHideUnderlay={this.handleSkipBtnHideUnderlay}
            underlayColor={colors.gray03}
          >
            <Text style={[{ color: colors.green01 }, styles.buttonText]}>
              Skip
            </Text>
          </TouchableHighlight>
Call the requestPermission function if the user presses the “Yes” option. Otherwise, direct the user to the home screen.
Now we can send the user a request to allow notifications.
At the end of its implementation, the requestPermission function also directs the user to the home screen. When a user allows push notifications, we’ll be able to see the token saved into the Firebase database.
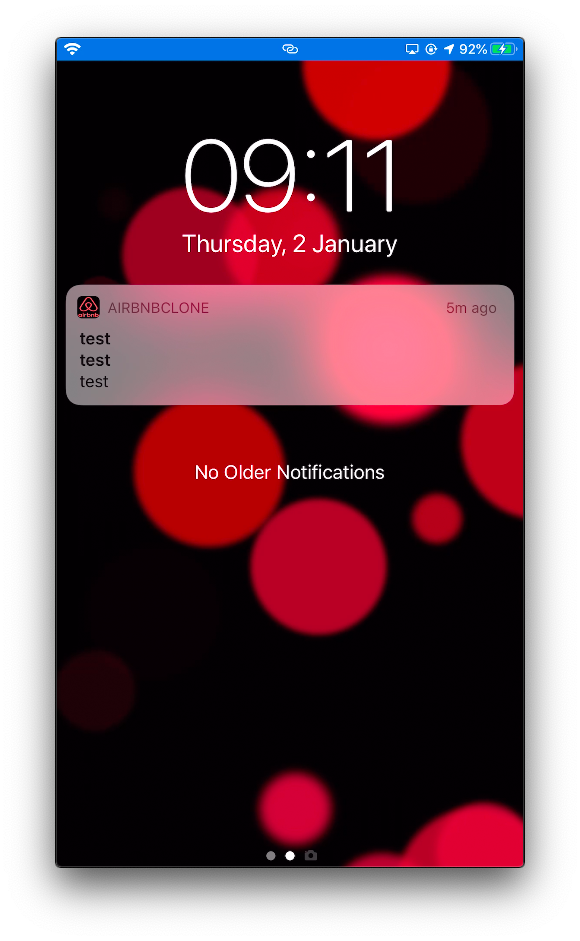
We can test the push notifications by sending a test message using cloud messaging.
That’s it! We have completed the next step of our implementation of the AirBnB clone.
Summary
In this chapter, we learned how to handle the request to send push notifications for iOS. In the next chapter, we will implement deep linking with React Navigation.


