This tutorial is the ninth chapter of our implementation of an Airbnb clone in
React Native. In the previous chapter, we successfully implemented the Firebase
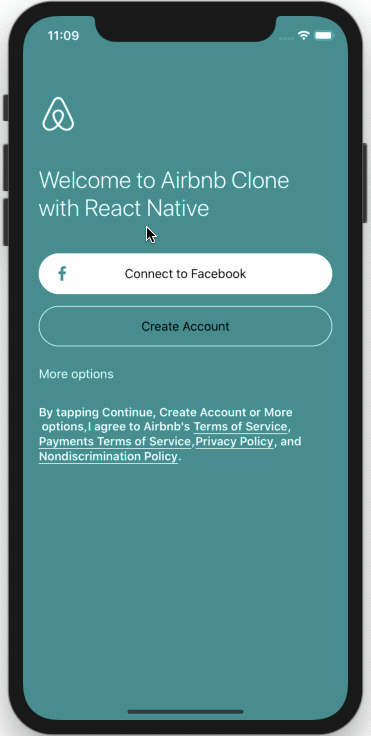
Facebook login feature. this tutorial series came from the [React Native Mobile Templates](https://www.instamobile.io) from instamobile
In part 9, we’re going to continue where we left off by implementing a
persistent login state and a logout feature. The idea here will be to check
whether the user is logged in or not. If not, we want to navigate to the Logout
screen with an alert. Then, we’re going to implement the Home screen with the
drawer navigation and add the Logout feature to the Home screen header.
*So let’s begin!*
### Re-configuring Navigation
In this first step, we’re going to make a small change to our navigation code.
We’re going to set the default initial route to the Home screen so that whenever
we launch the app, we are directed to the Home screen. For that, we need to use
the code from the following snippet:
Here, we’ve set the initialRouteName to the Home screen. However, we need to
be in the logged-in state in order to navigate to the Home screen. If we aren’t,
we won’t be able to view the Home screen. For this, we need to check the
presence of the user on the Home screen. If present, we stay in the Home
screen—otherwise, we navigate to the Logout screen.
We need to add the user state checking code in the componentDidMount hook of
the Home screen, as shown in the snippet below:
Here, we’ve called the auth function of the firebase module to check for the
user. If the user is present, we won’t do anything. But if the user isn’t
present, then we navigate to the LoggedOut screen.
Hence, we’ll get the following result in the emulator screen:
As we can see, we end up being navigated to the Logout screen with the alert
message.
*****
Did you know: It’s possible for mobile apps to easily see, hear, sense, and
think — all in real-time. [Learn how and start building for free with Fritz
AI.](https://www.fritz.ai/product/standard.html?utm_campaign=buildapps8&utm_source=heartbeat)
*****
### Adding a Drawer Navigator
Now, we’re going to add a drawer navigator to our navigation. The drawer
navigation is provided by the react-navigation package itself. So we need to
import it as a createDrawerNavigator function, as shown in the code snippet
below:
Next, we create a new navigator called DrawerNavigator that’s set to the
createDrawerNavigator function. Then we include our old stack navigator in the
DrawerNavigator:
Here, we’ve added our stack navigator called AppNavigator to the
createDrawerNavigator function with the drawerLabel set to Home.
Lastly, we need to export the DrawerNavigator in place of the AppNavigator:
### Configuring the Drawer Navigator
Next we’ll configure our drawer navigator with defaultNavigationOptions . For
that, we need to use the code below:
We’ve set the style of the header bar provided by DrawerNavigator. We’ve also
added a menu icon to the left of the header bar using the headerLeft option.
Then, we wrapped the icon with TouchableOpacity component. The
TouchableOpacity component has an onPress event in which the openDrawer
method is called. This will help to slide open the drawer from the left when we
press the icon.
We get the following result in our emulator:

*****
The next revolution in mobile development? Machine learning. Don’t miss out on
the latest from this emerging intersection. [Sign up for weekly updates from our
crew of mobile devs and machine
learners.](https://www.fritz.ai/newsletter?utm_campaign=heartbeat-newsletter-fomo2&utm_source=heartbeat)
*****
### Implementing Firebase Logout
In this last phase of this tutorial, we’re going to implement a Logout feature
in our app. Here, we’re going to add a Logout button to the right side of our
header bar on the Home screen. For that, we need to use the code below in the
Home screen file:
Here we’ve made use of the headerRight option of the navigationOptions
config on the Home screen. In the headerRight option, we’ve returned the
template for the Logout button. This template consists of an icon wrapped by the
TouchableOpacity component.
In the onPress event of the TouchableOpacity component, we’ve set the alert
to check whether or not the user really wants to log out. If the user chooses
no, then we cancel the alert. But if the user selects yes, then we call the
firebase module for logging out and navigate to the loggedOut screen.
Hence, we’ll get the following result in our emulator screen:

As we can see, when we tap on the logout icon on the header, we’re shown an
alert. And when we choose “Yes” in the alert dialog, we are logged out of the
app and navigated to the Logout screen.
And that’s it! We’ve successfully implemented a drawer navigator and a logout
feature in our AirBnB clone with React Native.
### Conclusion
In this part of our AirBnB clone tutorial series, we first learned how to add a
persistent login state with Firebase. We then implemented a drawer navigator
into our app using the react-navigation package. Then, we learned how to
configure the style and header bar of the drawer navigator in order to display
the menu icon on the Home screen. Lastly, we added a logout button to the header
bar and configured to work with the app’s logout feature.


