Perceived performance is critical in mobile apps. We need to make our apps fast and snappy, otherwise, users won’t use them. Adding features like animations and haptic touch feedback makes mobile apps feel more performant. In this article we are going to be talking about Haptic Feedback in React Native — what it is and how can we implement it in mobile apps.
Haptic touch feedback is engineered feedback from applying touch on a game, console or smartphone. You know those vibrations from your favorite video games when your character dies or when the ball strikes the bar in FIFA.
At Instamobile, we use haptics feedback in all of our React Native apps, in order to make the user experience snappy and engaging. Take a look at big apps, such as Facebook, Instagram or Twitter, and notice how nice the haptic feedback feels in your hand when you are taking important actions such as likes or follows.
The haptic feedback library we are about to explore in this React Native tutorial is provided by Expo and is called expo-haptics. After exploring the library we will go ahead and build a tiny application to apply what we have learned.
Installation
Create a new Expo project
expo init haptic_feedback_example
Install expo-haptics
expo install expo-haptics
Now let us explore the methods and their most likely use case, there are three methods provided by this dependency:
a. Haptics.selectionAsync(): This function takes no argument. This call produces a vibration about 1 second after this function has been triggered. This function can be applied when the animation is done. The animation could be initiated by the user or initiated programmatically.
b. Haptics.notificationAsync(type): This function takes an argument *type *which can be one of the following:
- Haptics.NotificationFeedbackType.Success
- Haptics.NotificationFeedbackType.Warning
- Haptics.NotificationFeedbackType.Error
This function could be applied when giving feedback after validation. Regular users of Snapchat are familiar with this vibration on their phones after scanning a Snapchat QR code.
c. Haptics.impactAsync(style): This function also accepts only one argument which is usually one of three values depending the intensity of the desired feedback:
- Haptics.ImpactFeedbackStyle.Light
- Haptics.ImpactFeedbackStyle.Medium
- Haptics.ImpactFeedbackStyle.Heavy
This function, on invocation, produces quicker feedback than the selectionAsync and can be used to give instant haptic feedback when a user presses a button. The topping on the cake is that you get to regulate the intensity of the vibration.
Haptic Feedback in React Native
Example 1
We have our React Native project created already so so let’s build a simple project and test the impactAsync method and explore the different haptic feedback styles:
/**
 * Sample React Native App
 * https://github.com/facebook/react-native
 *
 * @format
 * @flow strict-local
 */

import React from 'react';
import {StyleSheet, TouchableOpacity, View, Text} from 'react-native';
import * as Haptics from 'expo-haptics';

const HapticFeedbackExample = () => {
  function impactAsync(style) {
    switch (style) {
      case 'light':
        Haptics.impactAsync(Haptics.ImpactFeedbackStyle.Light);
        break;
      case 'medium':
        Haptics.impactAsync(Haptics.ImpactFeedbackStyle.Medium);
        break;
      default:
        Haptics.impactAsync(Haptics.ImpactFeedbackStyle.Heavy);
        break;
    }
  }

  return (
    <View>
      <TouchableOpacity onPress={() => impactAsync('light')}>
        <Text style={styles.light}>Light</Text>
      </TouchableOpacity>
      <TouchableOpacity onPress={() => impactAsync('medium')}>
        <Text style={styles.medium}>Medium</Text>
      </TouchableOpacity>
      <TouchableOpacity onPress={() => impactAsync('heavy')}>
        <Text style={styles.heavy}>Heavy</Text>
      </TouchableOpacity>
    </View>
  );
};

const styles = StyleSheet.create({
  container: {
    flex: 1,
    alignItems: 'center',
    justifyContent: 'center',
  },
  light: {
    color: '#ffffff',
    fontSize: 20,
    width: 300,
    height: 100,
    backgroundColor: 'green',
    marginVertical: 10,
  },
  medium: {
    color: '#ffffff',
    fontSize: 20,
    width: 300,
    height: 100,
    backgroundColor: 'orange',
    marginVertical: 10,
  },
  heavy: {
    color: '#ffffff',
    fontSize: 20,
    width: 300,
    height: 100,
    backgroundColor: 'red',
    marginVertical: 10,
  },
});
What are we doing in the React Native codebase above?
We create three buttons to represent the three styles of impactAsync. We have this simple screenshot showing the different buttons with their several styles and intensities:
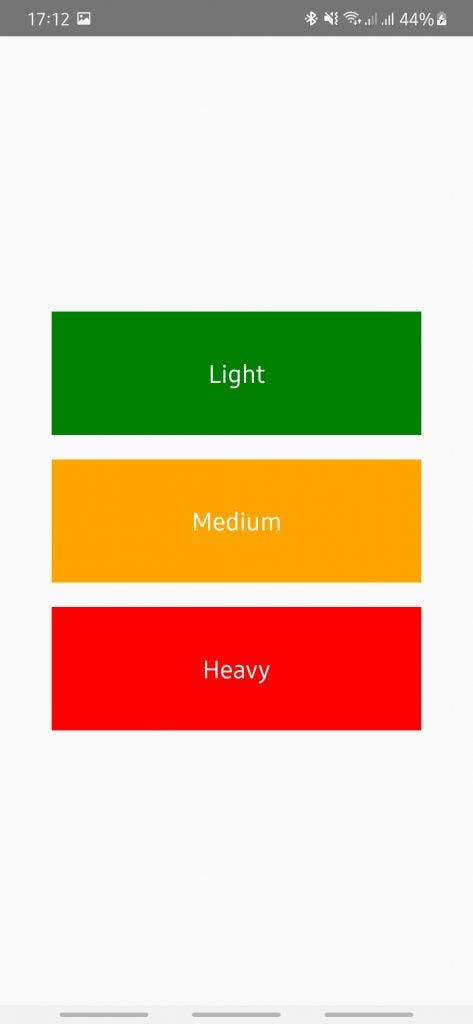
Run the project and start tapping the three buttons alternatively. On close observation you’ll notice the slight differences in intensities ranging from light to medium to heavy.
Example 2
Let us build a small QR scanner to verify if a resolved QR code is a valid URL.
For this, we have to add *expo-barcode-scanner *provided by Expo.
expo install expo-barcode-scanner
Let us write up code to scan a random barcode and verify if it’s a valid URL:
import React, {useState, useEffect} from 'react';
import {Text, View, StyleSheet, Button, Alert} from 'react-native';
import {BarCodeScanner} from 'expo-barcode-scanner';
import * as Haptics from 'expo-haptics';

export default function App() {
  const [isPermitted, setPermitted] = useState(null);
  const [scanned, setScanned] = useState(false);

  useEffect(() => {
    (async () => {
      const {status} = await BarCodeScanner.requestPermissionsAsync();
      setPermitted(status === 'granted');
    })();
  }, []);

  const handleBarCodeScanned = ({type, data}) => {
    setScanned(true);
    is_url(data);
  };

  function is_url(str) {
    const regexp = /^(?:(?:https?|ftp):\/\/)?(?:(?!(?:10|127)(?:\.\d{1,3}){3})(?!(?:169\.254|192\.168)(?:\.\d{1,3}){2})(?!172\.(?:1[6-9]|2\d|3[0-1])(?:\.\d{1,3}){2})(?:[1-9]\d?|1\d\d|2[01]\d|22[0-3])(?:\.(?:1?\d{1,2}|2[0-4]\d|25[0-5])){2}(?:\.(?:[1-9]\d?|1\d\d|2[0-4]\d|25[0-4]))|(?:(?:[a-z\u00a1-\uffff0-9]-*)*[a-z\u00a1-\uffff0-9]+)(?:\.(?:[a-z\u00a1-\uffff0-9]-*)*[a-z\u00a1-\uffff0-9]+)*(?:\.(?:[a-z\u00a1-\uffff]{2,})))(?::\d{2,5})?(?:\/\S*)?$/;
    hapticNotify(regexp.test(str));
  }

  const hapticNotify = (success) => {
    switch (success) {
      case true:
        Haptics.notificationAsync(Haptics.NotificationFeedbackType.Success);
        Alert.alert('Success', 'This is a URL');
        break;
      default:
        Haptics.notificationAsync(Haptics.NotificationFeedbackType.Error);
        Alert.alert('Error', 'This is not a URL!!');
        break;
    }
  };

  if (isPermitted === null) {
    return <Text>Requesting for camera permission</Text>;
  }
  if (isPermitted === false) {
    return <Text>No access to camera</Text>;
  }

  return (
    <View style={styles.container}>
      <BarCodeScanner
        onBarCodeScanned={scanned ? undefined : handleBarCodeScanned}
        style={StyleSheet.absoluteFillObject}
      />
      {scanned && (
        <Button title={'Tap to Scan Again'} onPress={() => setScanned(false)} />
      )}
    </View>
  );
}

const styles = StyleSheet.create({
  container: {
    flex: 1,
  },
});
What are we doing in the above codebase?
We have to ask for permission first before we go ahead to scan a barcode and then validate the result of the scan to verify whether it’s a URL:
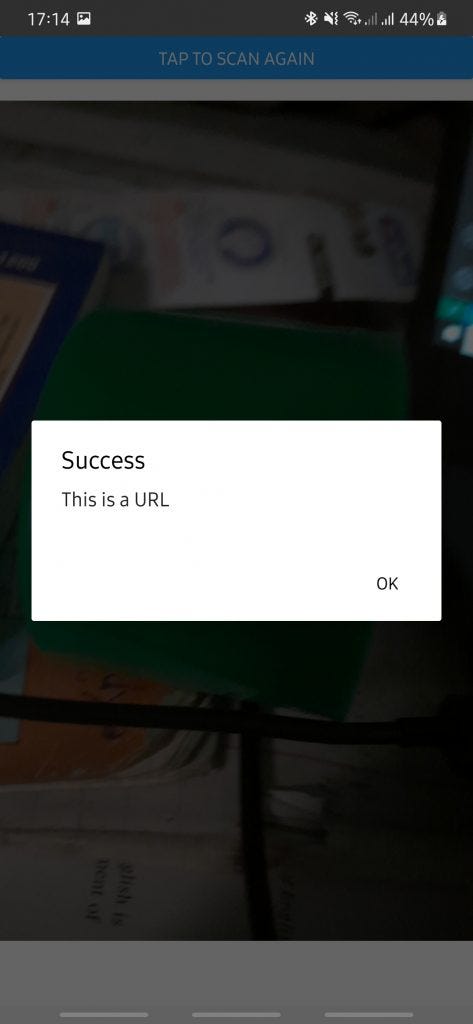
We apply different haptic feedback styles based on whether the scanned barcode URL is valid or not. You would notice the difference in the haptic feedback between scanning a valid URL barcode and an invalid URL barcode.
Conclusion on Haptic Feedback in React Native
We have gone through the ***expo-haptics ***library and its possible use-cases. We went ahead to apply what we’ve learnt by building a couple of small apps to apply these use cases and get a practical feeling of how these interactions behave.
Adding haptic feedback in React Native apps is pretty straightforward, given that there are libraries out there that can make this task trivial. However, you need to choose carefully when to trigger these haptic feedback interactions, in order to provide a high-quality mobile app. Abusing these vibrations will piss off your users and it will also drain their phone battery pretty quickly, so choose wisely.
For more ideas on mobile performance, check out our article on how to boost performance in mobile apps.
Originally published at https://www.instamobile.io on February 10, 2021.


